12 March 2026 · 7 min read
Claude Cowork: A Guide for Non-Developers
Claude Cowork brings the power of AI agents to knowledge workers — no terminal, no code, no developer required. Set it up and run your first workflow in under 30 minutes.
Download as MarkdownMost articles about AI agent tools are written by developers, for developers. They assume you’re comfortable in a terminal, that you know what a CLAUDE.md file is, and that you spend your days in VS Code.
If that’s not you — if you’re a strategist, analyst, consultant, marketer, or manager who works with ideas and documents rather than code — this guide is for you.
Claude Cowork was built specifically for this. It’s the first genuinely agentic AI tool designed for knowledge workers, and it’s available on Mac and Windows.
What Cowork actually is — and what it isn’t
Before anything else, it helps to understand what you’re installing, because Claude comes in three different modes and they’re meaningfully different.
Claude.ai (the web or app chat) is a conversation. You ask, it answers. You ask again, it answers again. There’s no persistent state, no ability to work through files on your computer, and no autonomous action. It’s excellent for what it is — but it’s a chatbot.
Claude Code is built for software developers. It runs in your terminal, writes and edits code files, and is optimised for engineering workflows. Not the tool for this guide.
Claude Cowork is different from both. It’s a persistent workspace where Claude can work with the files on your Mac, carry context across sessions, use skills and plugins to take action, and produce structured output into your folders. It doesn’t just talk — it works.
The simplest way to think about it: you’re giving Claude a desk, a folder, and a brief. Then you get out of the way.
Getting set up
Download Claude for Desktop from claude.ai/download. Install it, open it, and log in with your Anthropic account. If you don’t have one, you’ll create one during setup — it takes two minutes.
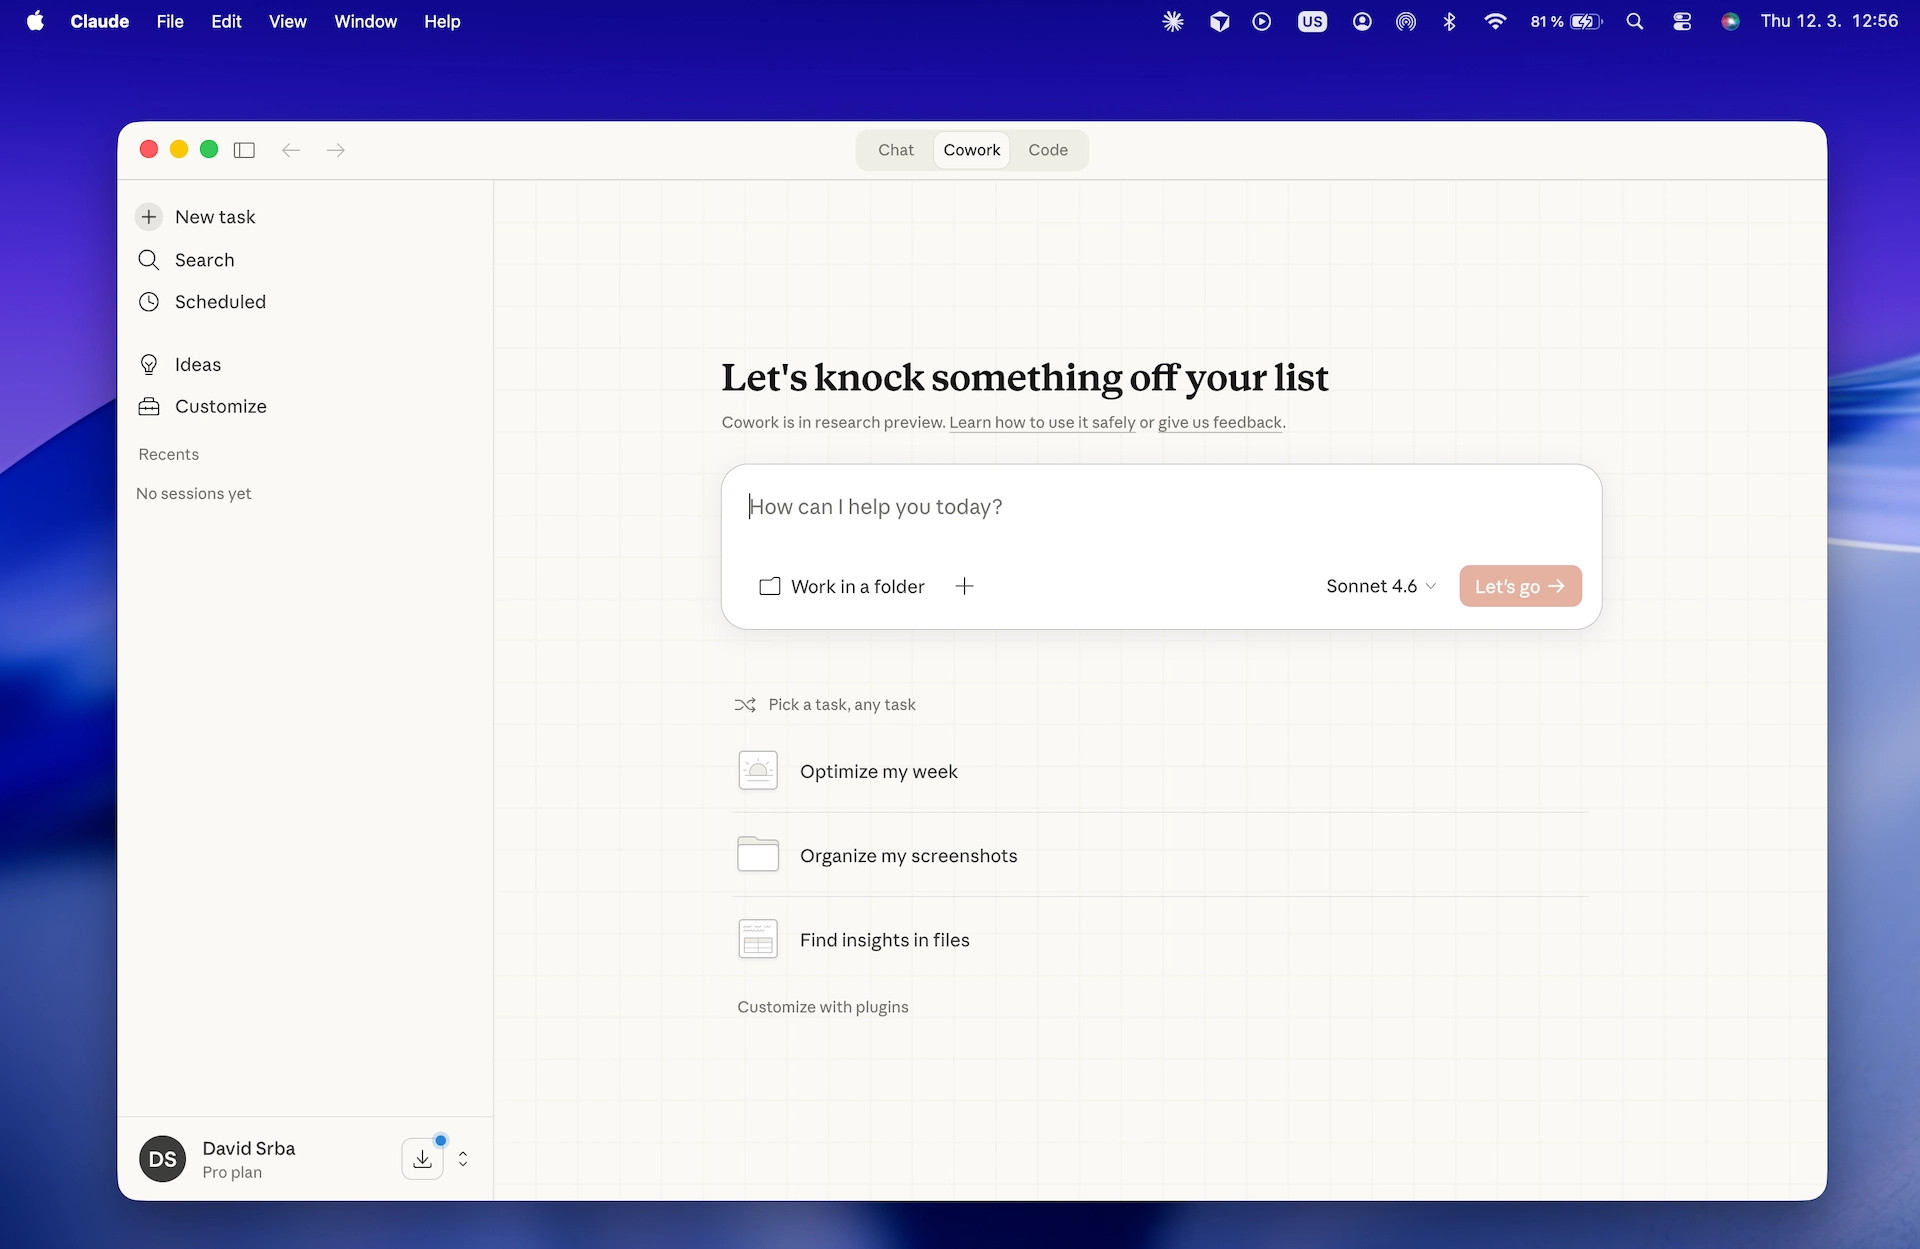
Once inside, you’ll see three tabs at the top of the window: Chat, Cowork, and Code. Click Cowork. You’re in.
You’ll need a Pro plan to use Cowork — it’s not available on the free tier. At the time of writing, Pro is $20/month.
The key concept: Work in a folder
The most important thing to understand about Cowork is the “Work in a folder” button. This is what separates Cowork from a chatbot.
When you give Cowork a folder, you give it context. It can read the files inside, understand what you’re working on, write new files back into the folder, and reference previous sessions. The folder is the memory.
Click the + icon next to “Work in a folder” and select a folder on your Mac. This can be an existing project folder, a notes folder, or a fresh folder you create for the purpose. Whatever you give it, Cowork will read it.
One thing to know: Cowork can only access folders within your Mac’s home directory — your Desktop, Documents, Downloads, and subfolders within those. If you try to select a folder on an external drive or a separate volume, it will refuse. Keep your Cowork working folders inside your home directory and you won’t hit this.
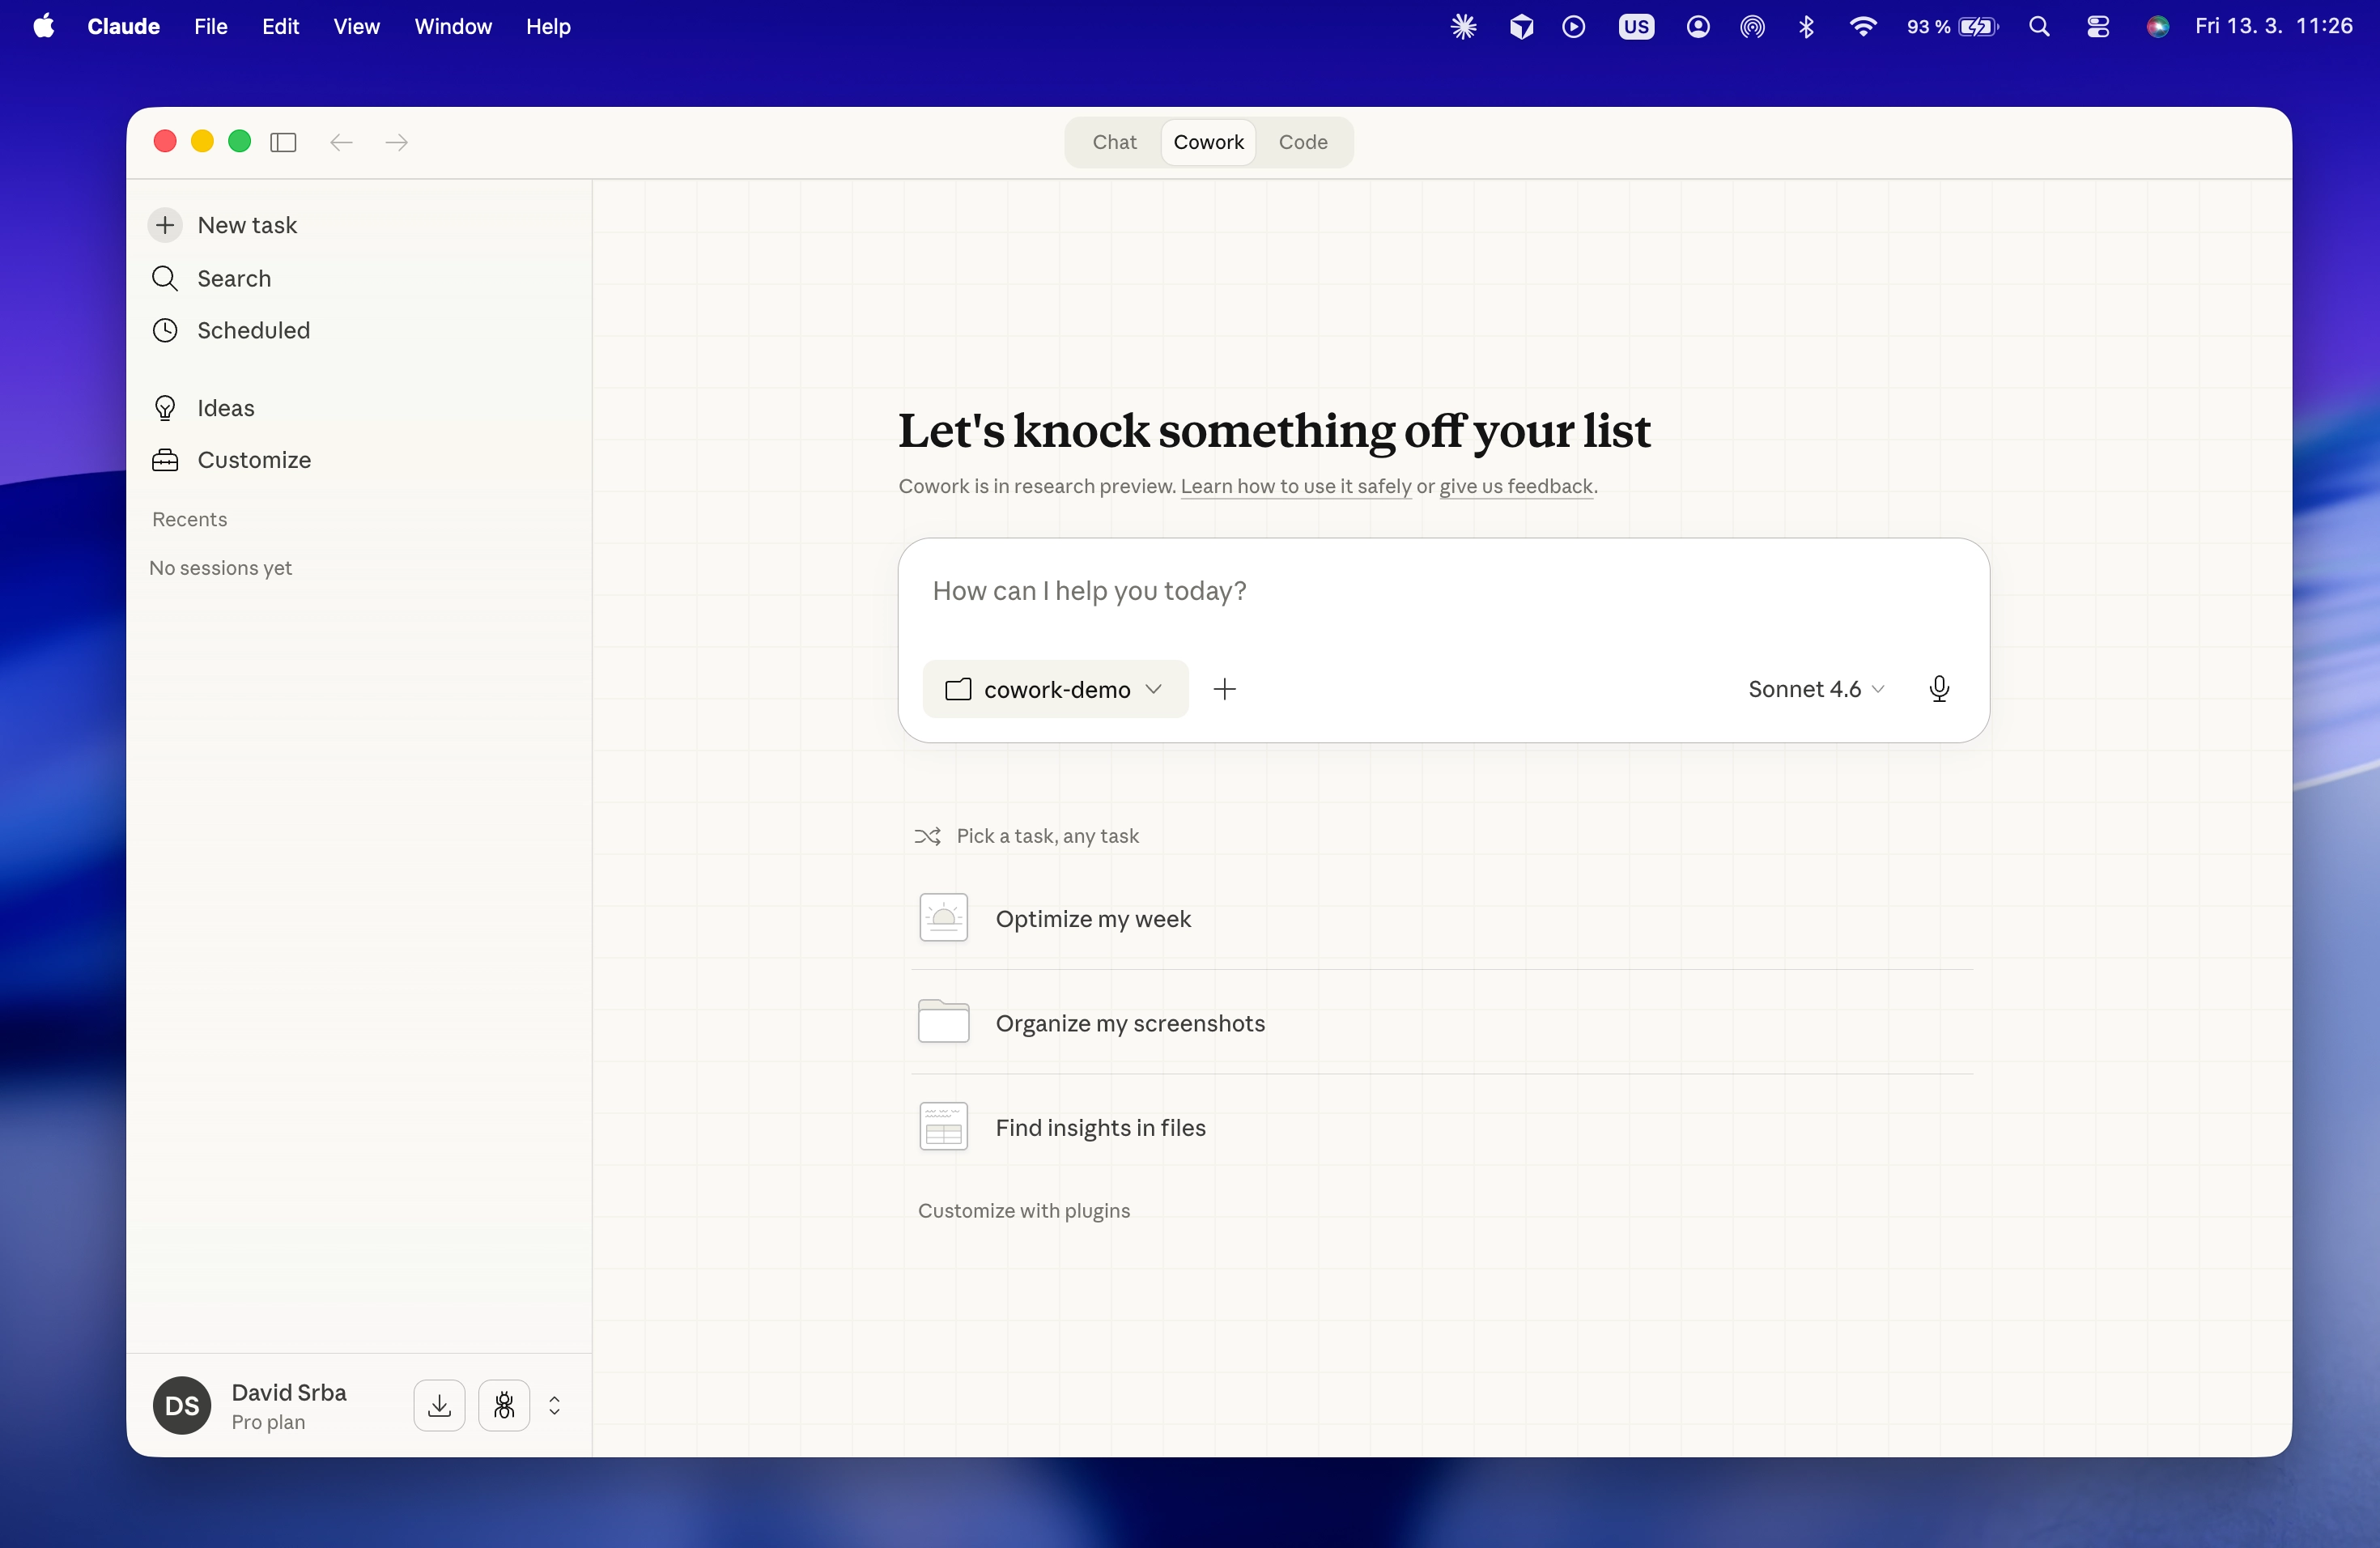
For your first session, I’d suggest a simple approach: create a folder called cowork-briefings on your Desktop, drop in a few text or markdown files with notes from your week — meeting notes, project updates, things you’ve been thinking about — and point Cowork at that.
If you want to follow along exactly, you can download the three sample files used in this guide — meeting notes, a competitor watch, and a Q2 priorities doc — and use those as your starting folder.
Your first real task
With your folder linked, here’s a prompt that works immediately for almost any knowledge worker:
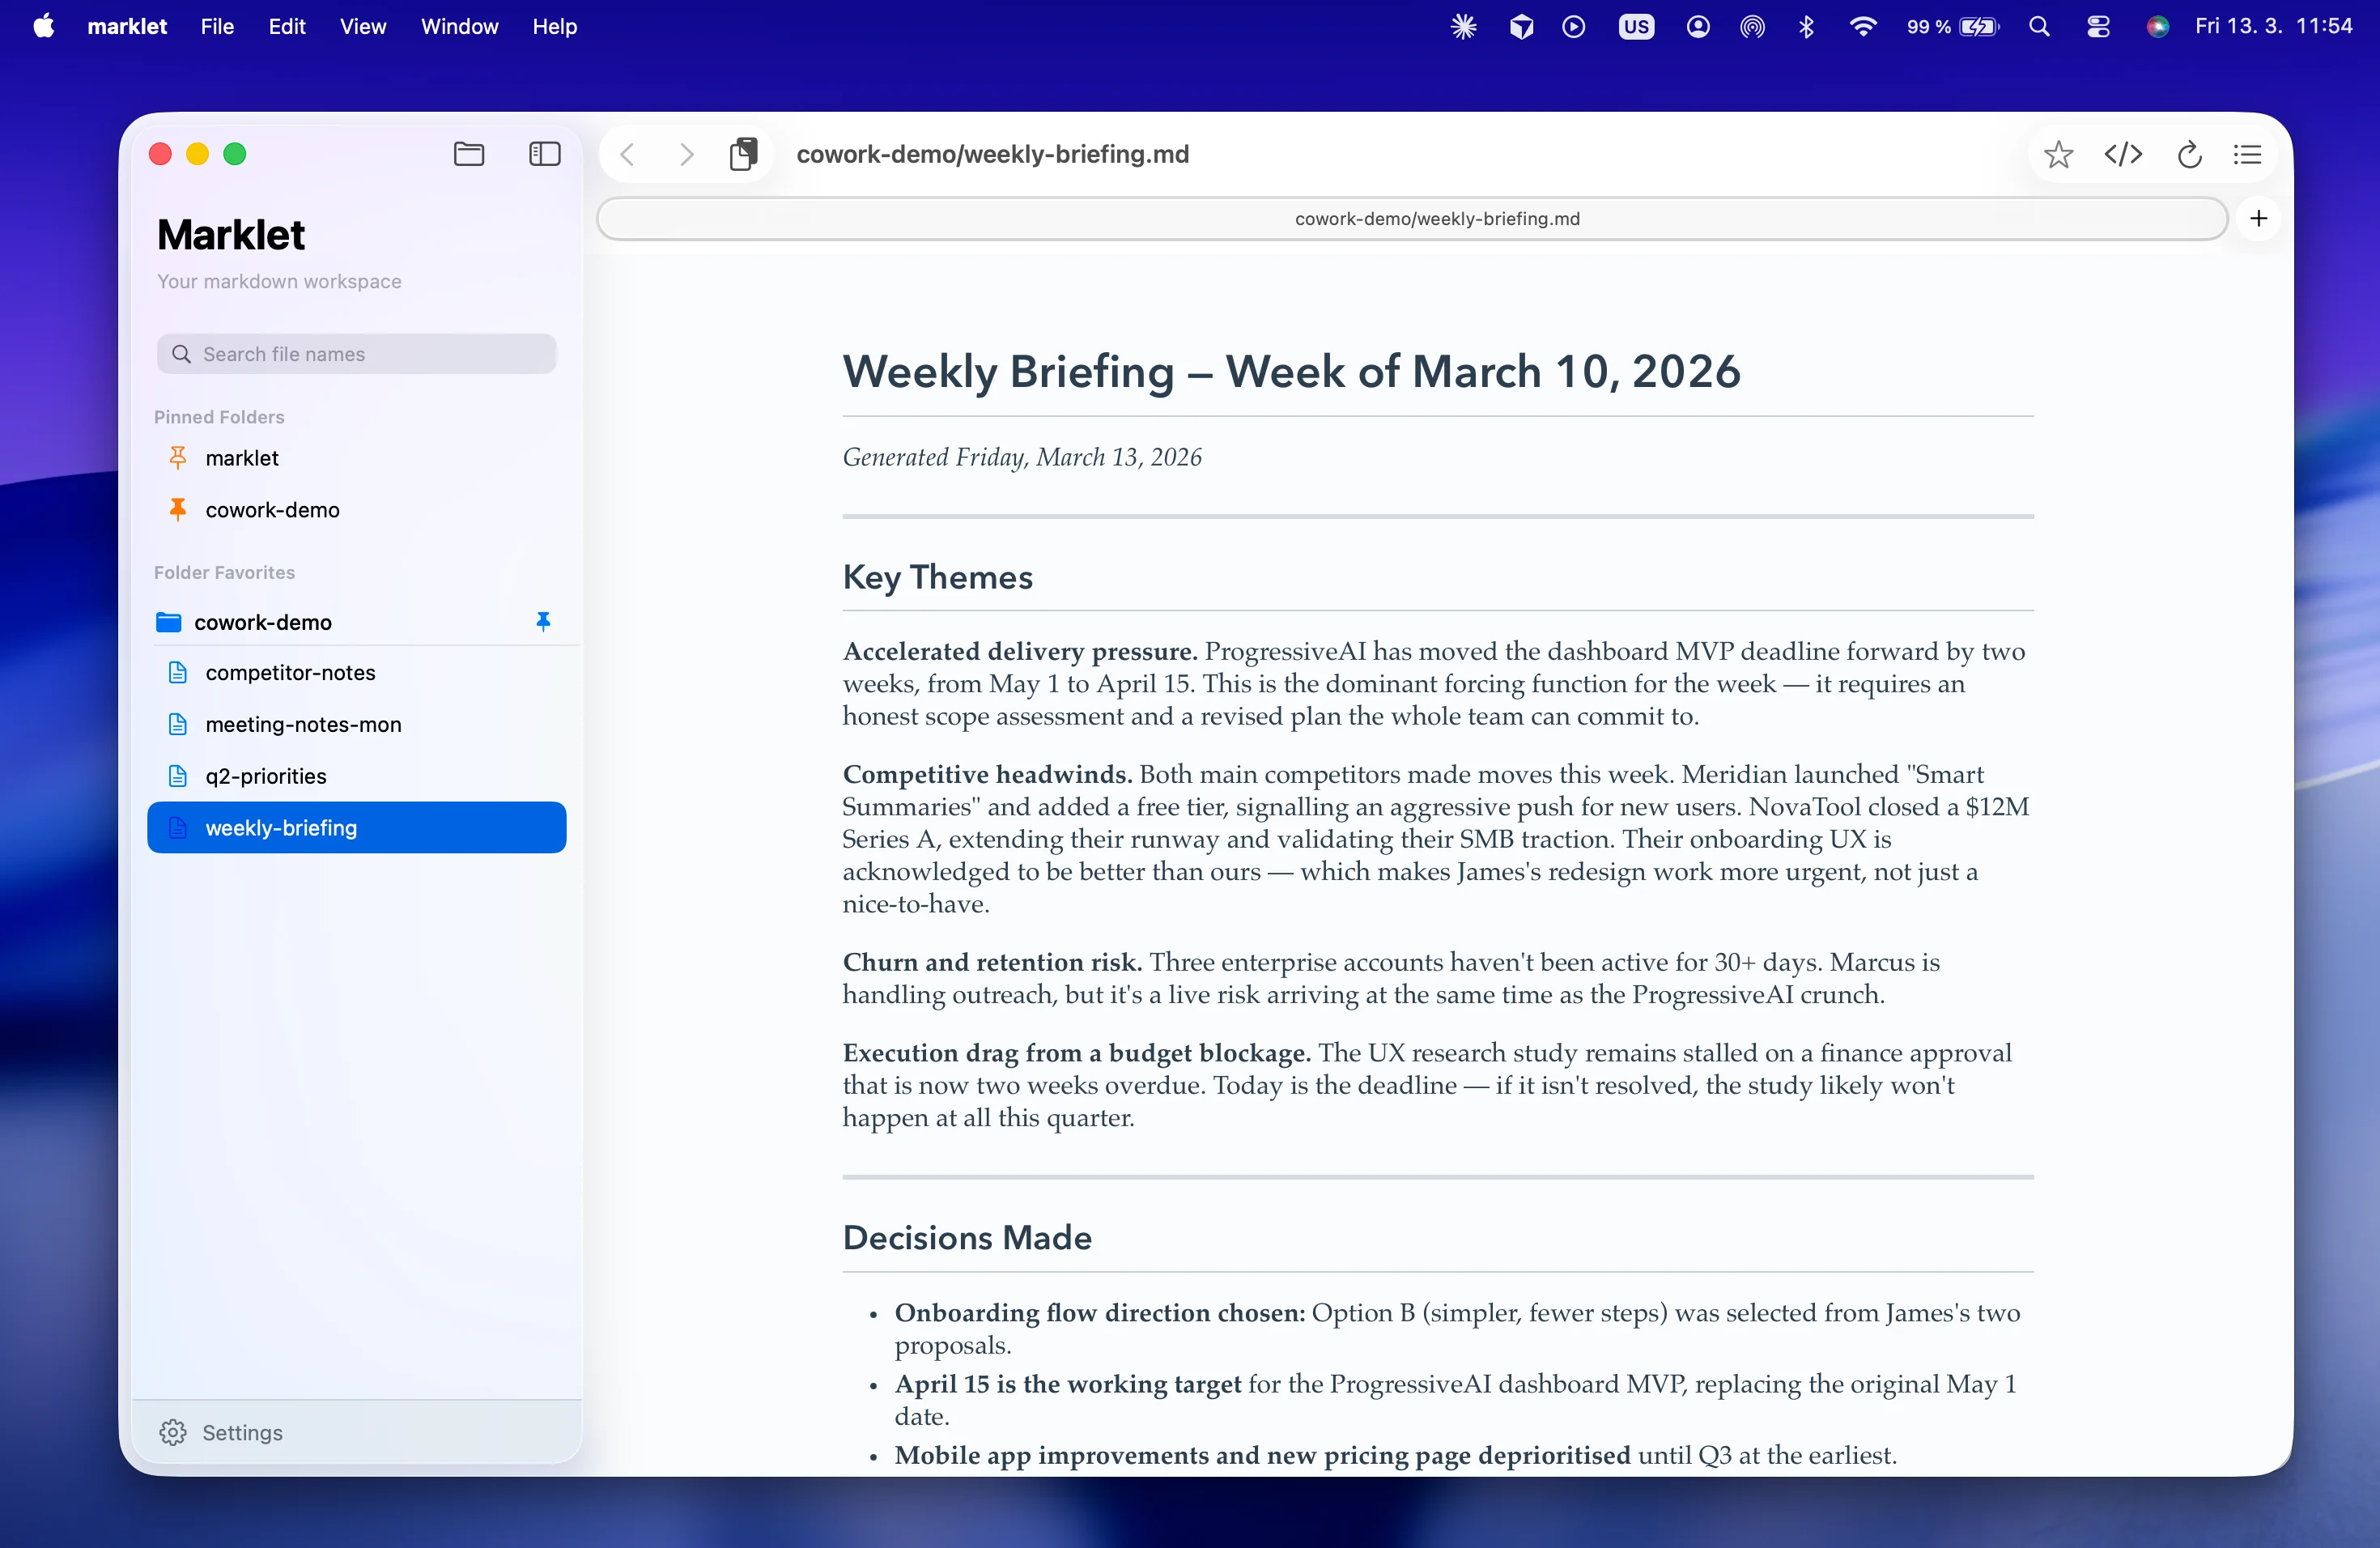
“I have notes from this week in this folder. Please read all the files and create a weekly briefing document: the key themes, any decisions that were made, the open risks and blockers, and my three most important actions for the rest of the week. Save it as
weekly-briefing.md.”
Hit Let’s go and watch what happens.
Cowork will read your files one by one. You’ll see it working — tool calls appearing as it processes each document, builds a picture of your week, and drafts the output. This is the part that feels genuinely different from a chatbot: it’s not waiting for you to ask the next question. It’s working through the task.
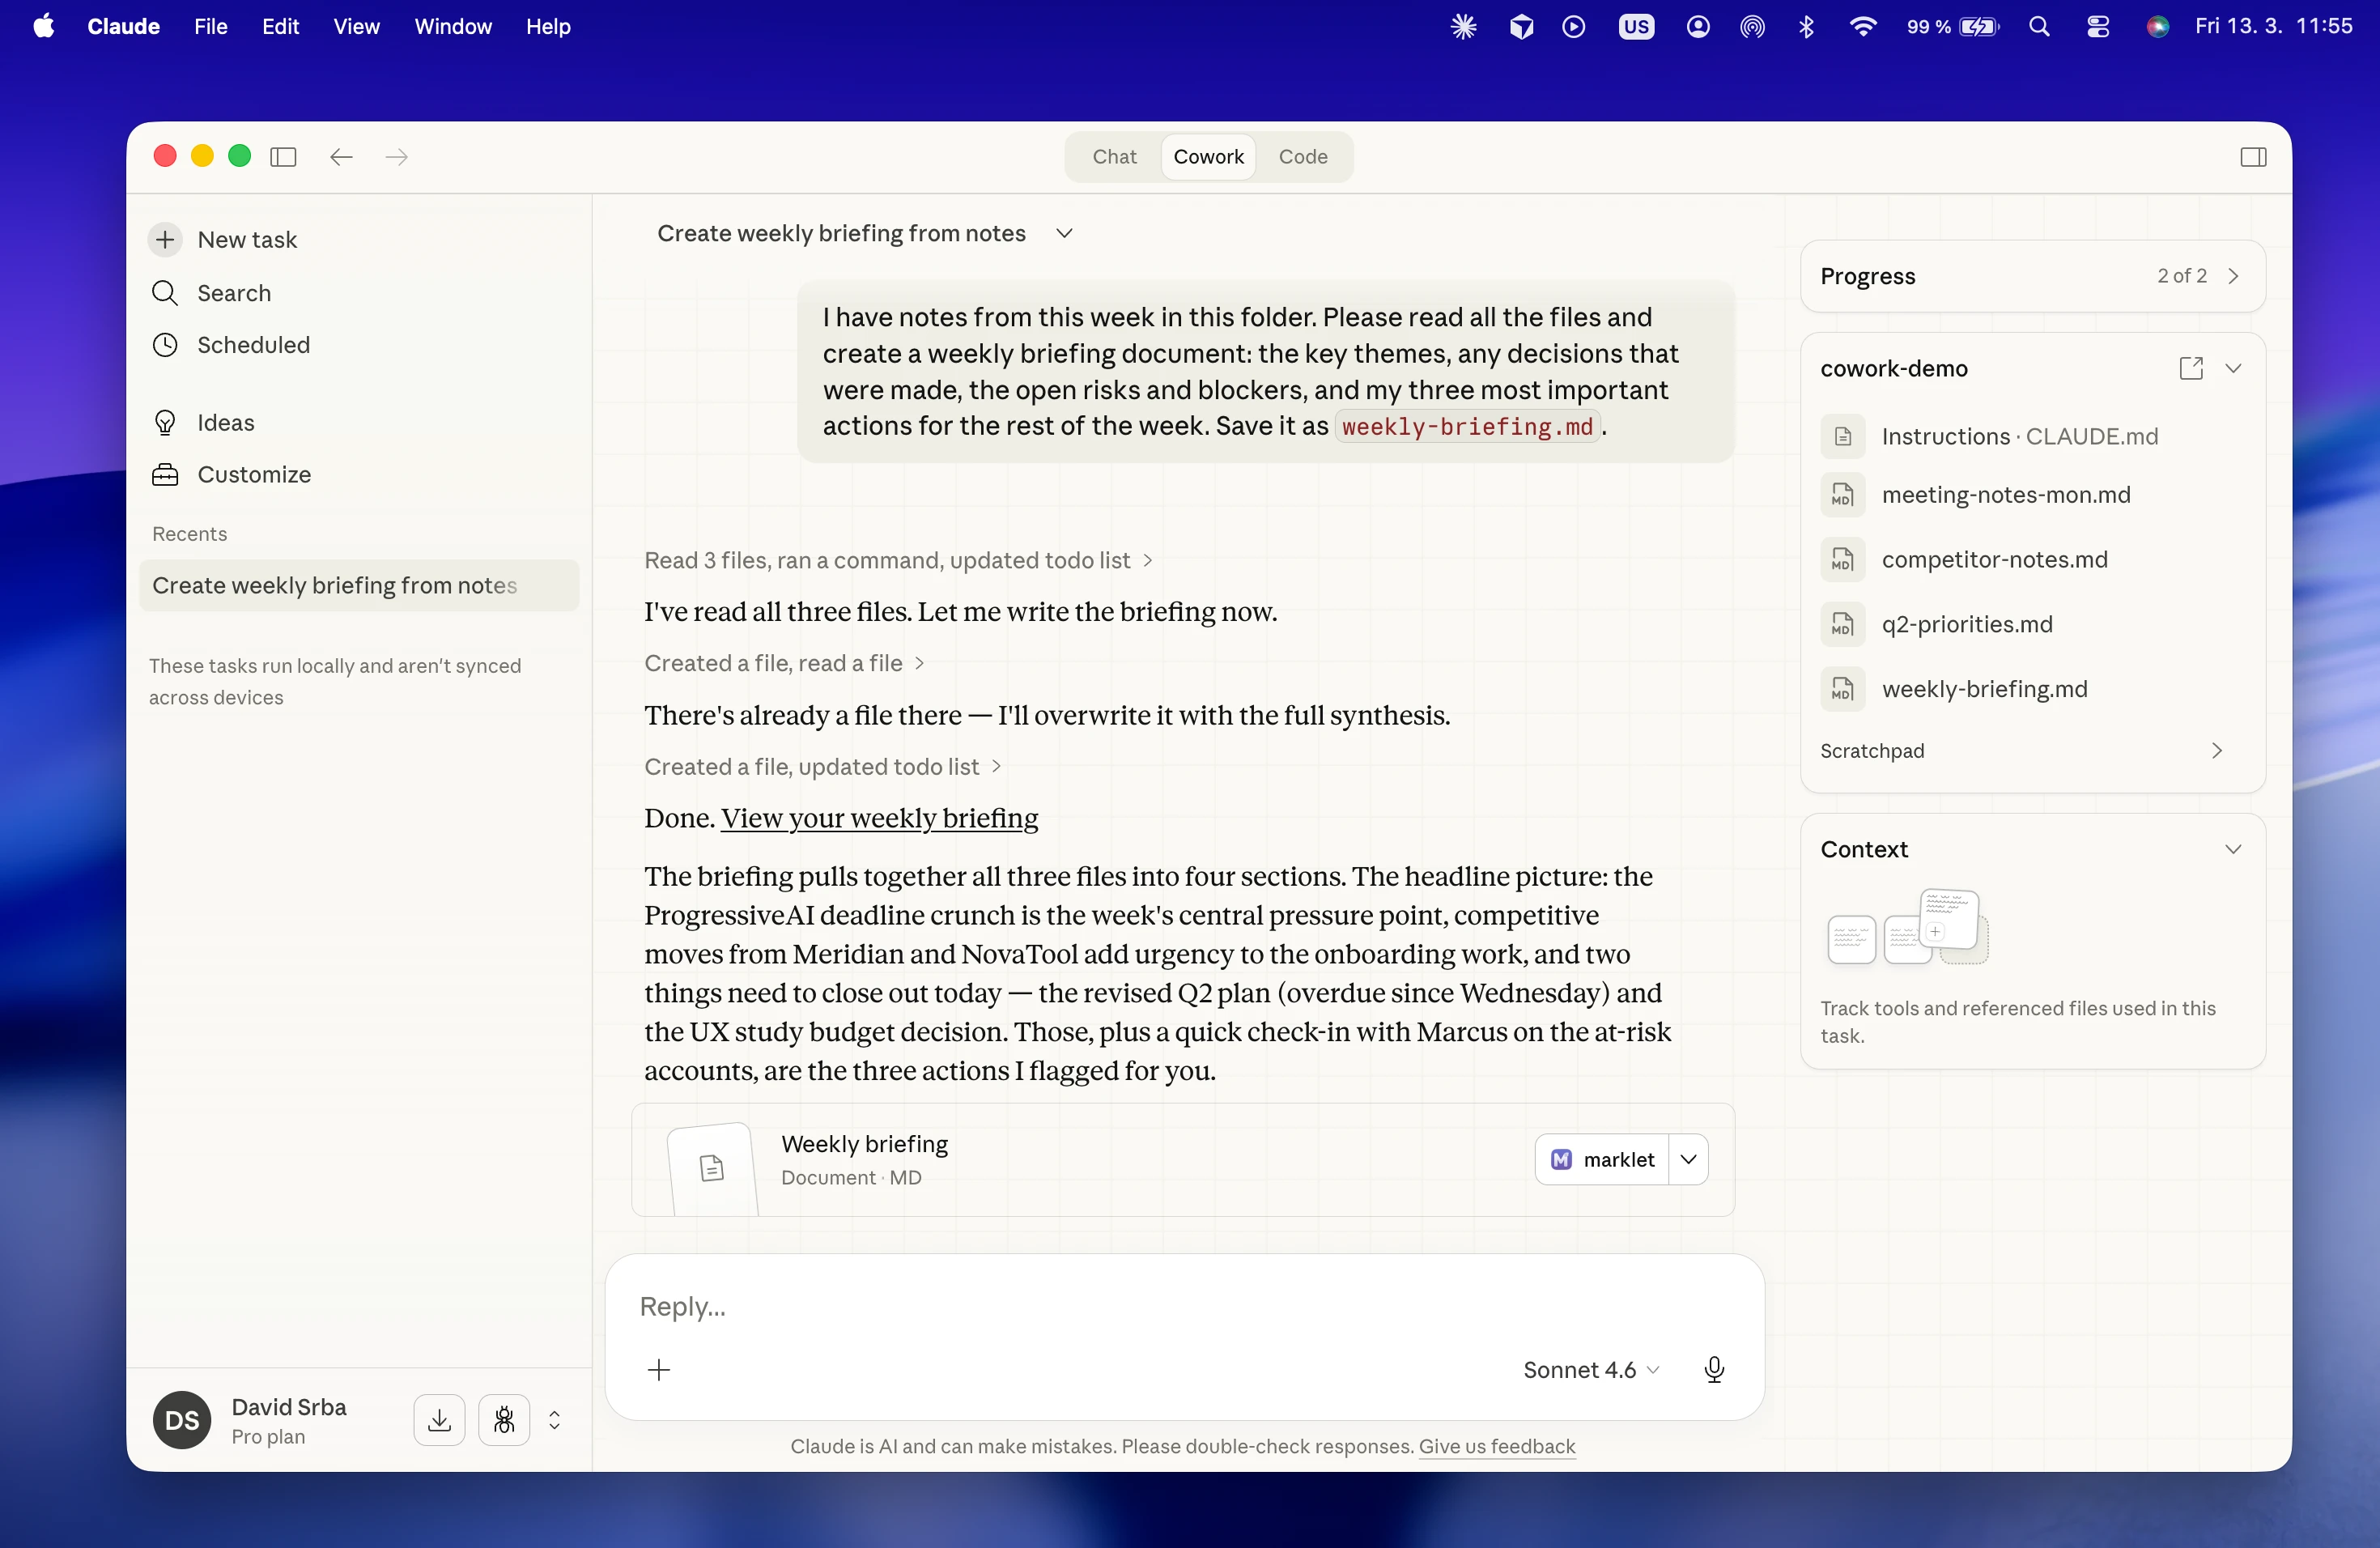
The result will be a structured document: sections, headers, bullet points, a clear action list. Not a wall of text — a document you could actually share or act on.
What Cowork produces
Here’s something that takes a moment to land: everything Cowork creates is saved as a Markdown file in your folder.
Open Finder and look in the folder you linked. You’ll see weekly-briefing.md sitting there alongside your notes. It’s yours. No cloud sync required, no export step, no account to log back into. The file is on your Mac, in a format that opens in any text editor, and it’ll be there in ten years.
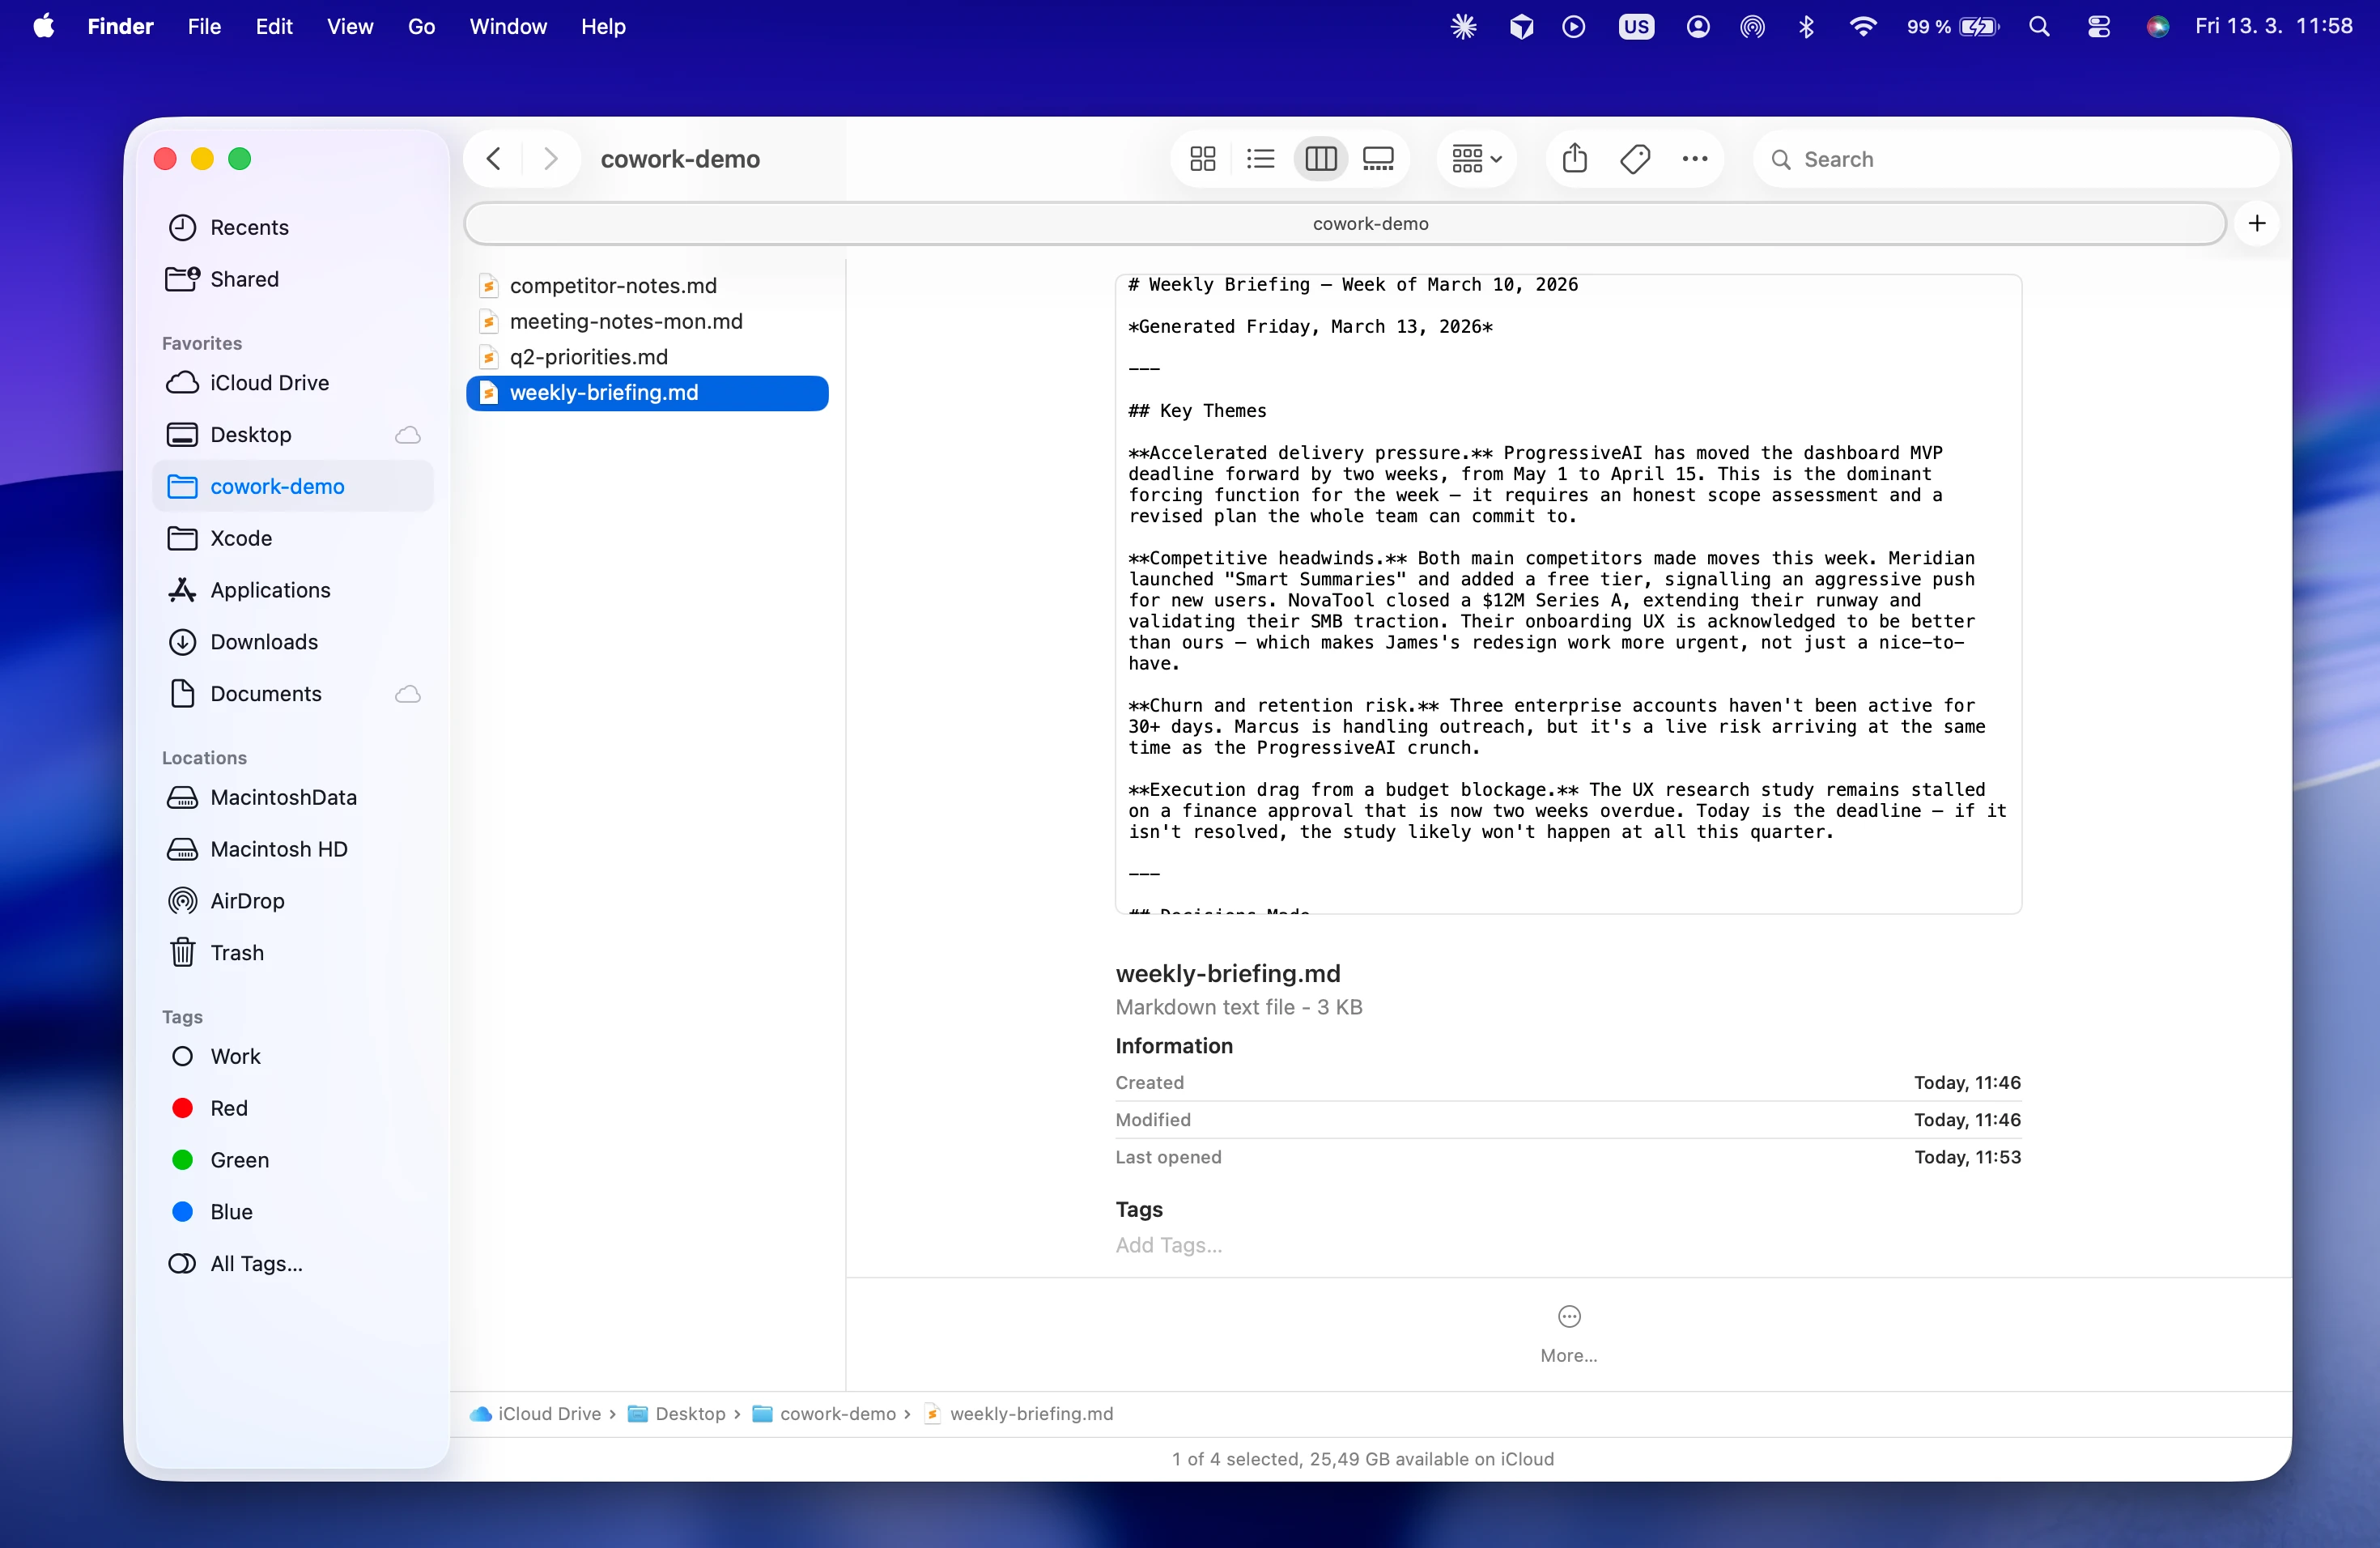
This is one of the underappreciated strengths of how Cowork works. Your output is not locked inside a tool. It lives in a folder. You can organise it, rename it, share it, back it up, and version it however you like.
As you run more Cowork sessions, that folder fills up with structured documents. Meeting summaries, research briefs, strategy drafts, competitive notes. All as Markdown files. All in one place.
Reading your output well
Markdown files are powerful — but if you open one in Finder’s Quick Look, what you see is the raw syntax: ## before headings, ** around bold text, - for bullet points. Readable, but not exactly pleasant.
One way to fix this: open your Cowork output folder in Marklet. It’s a native macOS app that renders Markdown beautifully — your briefing documents look like properly formatted documents, with headers, styled lists, and readable typography. You can browse all your sessions from the sidebar, jump between files, and read the output the way it was meant to be read.
It’s a small thing that makes a real difference when your Cowork folder starts to accumulate.
What to try next
Once you’ve run your first briefing, the natural next step is to go deeper on setup. A few things worth exploring:
Skills — pre-built or custom instructions that give Cowork specialised capabilities. There are skills for research workflows, writing, analysis, and more. The Claude Cowork resources on MarkLetplace has curated links to the best ones.
Context files — a short document in your folder that tells Cowork who you are, what you work on, and how you like your output formatted. Once this is in place, you stop repeating yourself every session.
Plugins — integrations that let Cowork take action beyond your local files. Web search, calendar access, and more are available depending on your setup.
None of this requires any coding knowledge. The learning curve is less steep than it looks from the outside — and the first session, where you watch Cowork read your notes and produce a structured briefing in under two minutes, tends to make it click immediately.
Claude Cowork is in research preview. Some features and pricing may change. Download Claude for Desktop to get started.